Many homeowners wish to refresh their dated or under-functioning kitchens through full kitchen remodeling. However, only a few can make their dreams a reality due to the high cost of kitchen remodeling. As stated on Homeadvisor.com, kitchen remodeling is the most expensive home renovation, with an average cost of $21,660.
Alternatively, replacing the cabinetry is a cost-effective way to improve the cohesiveness of a kitchen. But if there is no functional problem with the cabinetry, simply painting kitchen cabinets can work wonders in your home. It is far more inexpensive and much more practical.
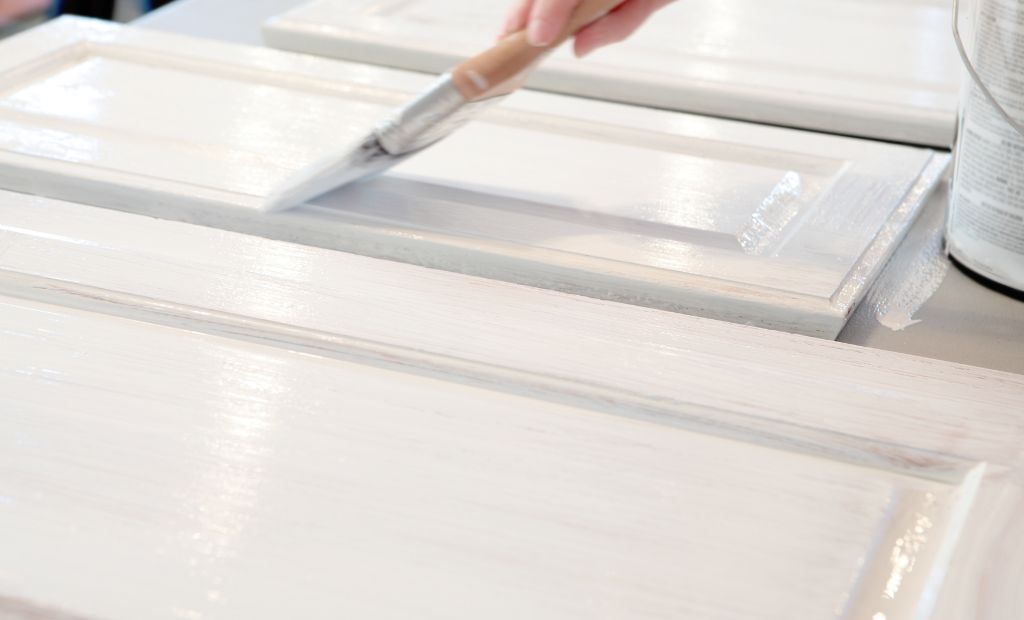
In this post, we are sharing expert tips about painting kitchen cabinets. If you don’t know anything about how to paint kitchen cabinets or are seeking a better understanding as a DIYer, this guide will help you a lot. Here we go!
How to Paint Kitchen Cabinets?
A kitchen cabinet can be a lot of things: functional, beautiful, theme-setting, or even a standout from the rest of the kitchen. But what it must be, above all, is durable. Over the years, it has to undergo thousands of push and pull movements, or getting slammed unintentionally (or intentionally) by users; and despite all that, its hinges must remain strong for years.
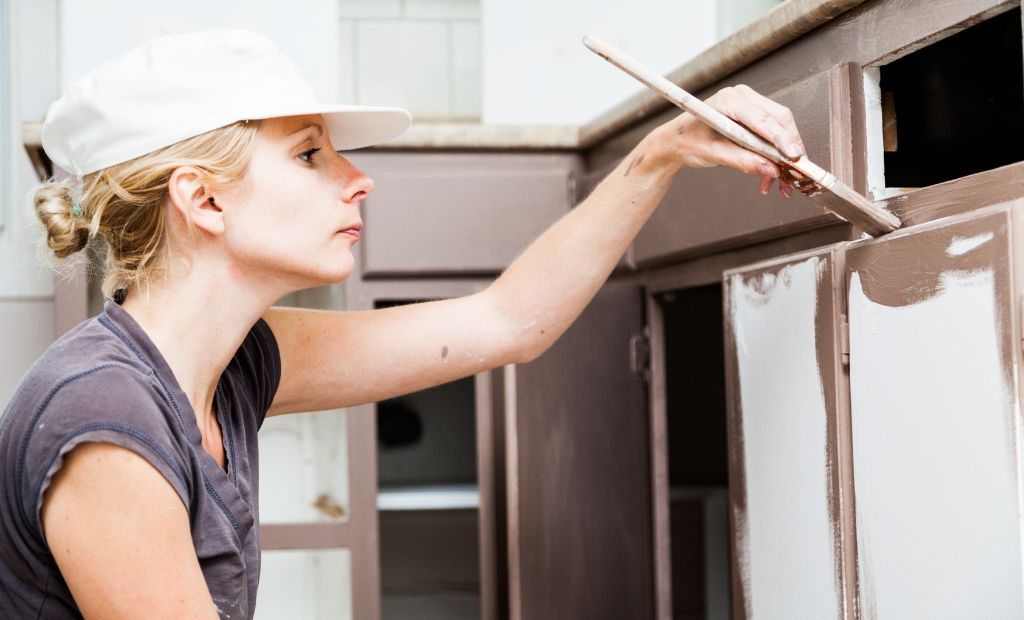
Sure, buying a premium cabinet that is built by a trusted name and comes with a warranty is a good way to ensure you don’t have to worry about the doors falling off, but sheer functionality may not be enough to satisfy your creativity. What if we told you you could salvage your kitchen simply by painting your cabinets? Here is everything you should know about kitchen cabinet painting. Follow these steps!
Step-1: Gather The Tools
Painting a cabinet might look like a fairly simple task; truth be told, it is. But there is a process that must be followed, and having the proper tools is key. You will need:
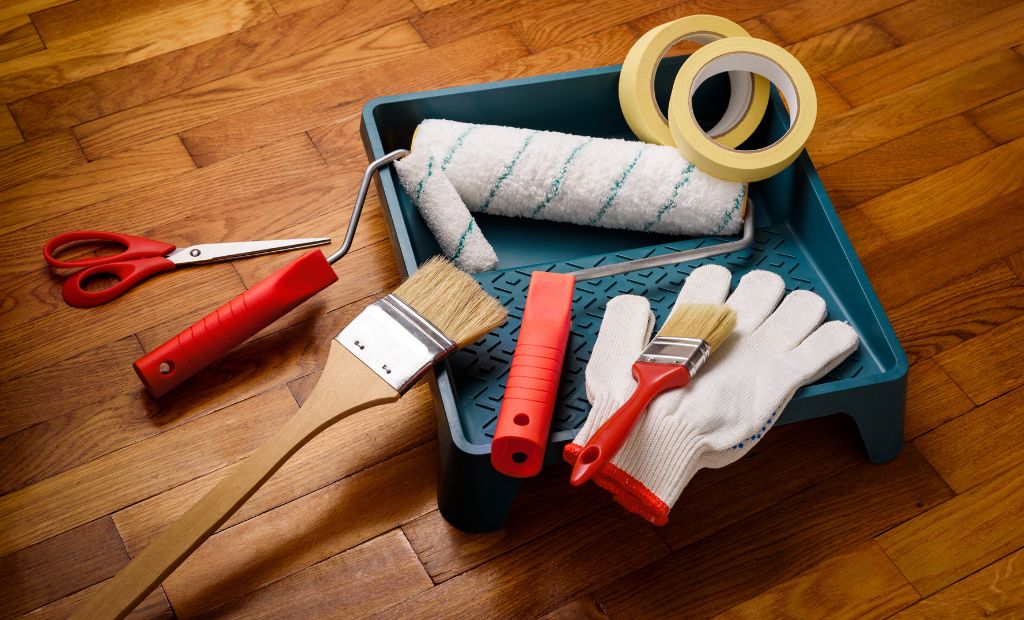
- A Sanding Block:
This is great for achieving a flat surface. Grit sandpaper 220 works best for this job.
- Primer:
If you want long-lasting paint, you have to invest in a primer. Although you can choose between water-based primer or oil-based primer, we recommend a water-based primer for cabinets because it makes cleaning a breeze.
- Paint:
Self-explanatory! Pick any color that takes your fancy. Just remember that it must be easy on the eyes for you to keep liking it in the long term. But then again, rules are meant to be broken! So, go easy or go bonkers! Your kitchen, your rules!
- Paint Roller or Paint Sprayer:
While a roller is easier to operate, a spray is more uniform and gives a more professional look. The choice is completely yours, but make sure you get a respirator mask and eye protection if you go the spray route.
Step-2: Label The Cabinet Doors
Let’s start with something simple but very crucial: labeling all the doors and hardware. To make sure they are easy to find later, it can be helpful to number them as well (for example, number all parts of the left cabinet as 1).
Step-3: Clean The Surfaces
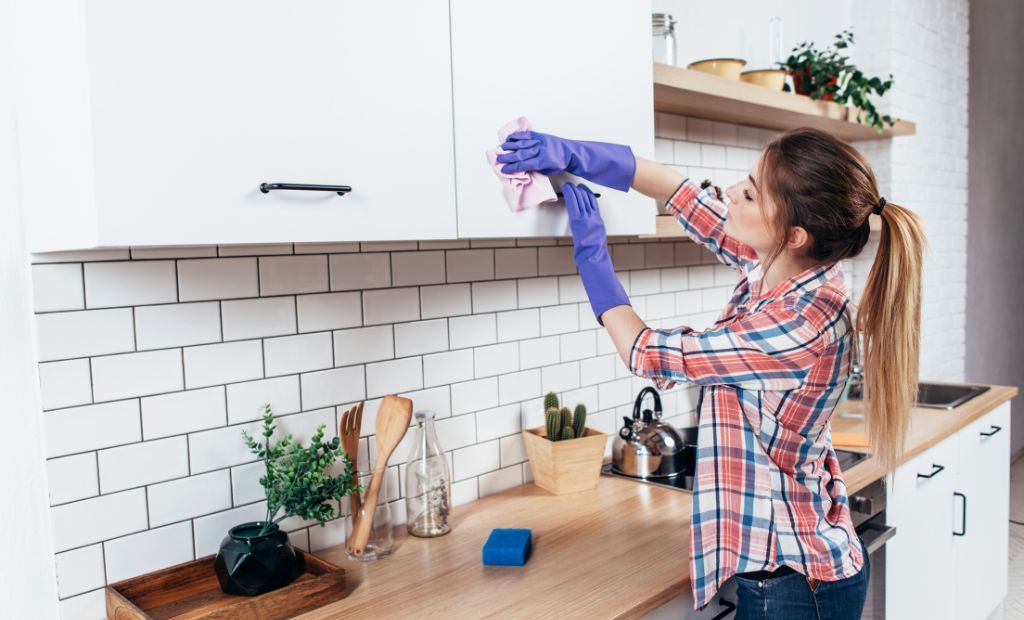
Next, clean and remove any grease off the cabinet doors (you will be surprised to see how much grease there is!) with mild soap and let them dry completely. You don’t want to apply paint to a damp door — it will not last.
Step-4: Pick The Right Paint
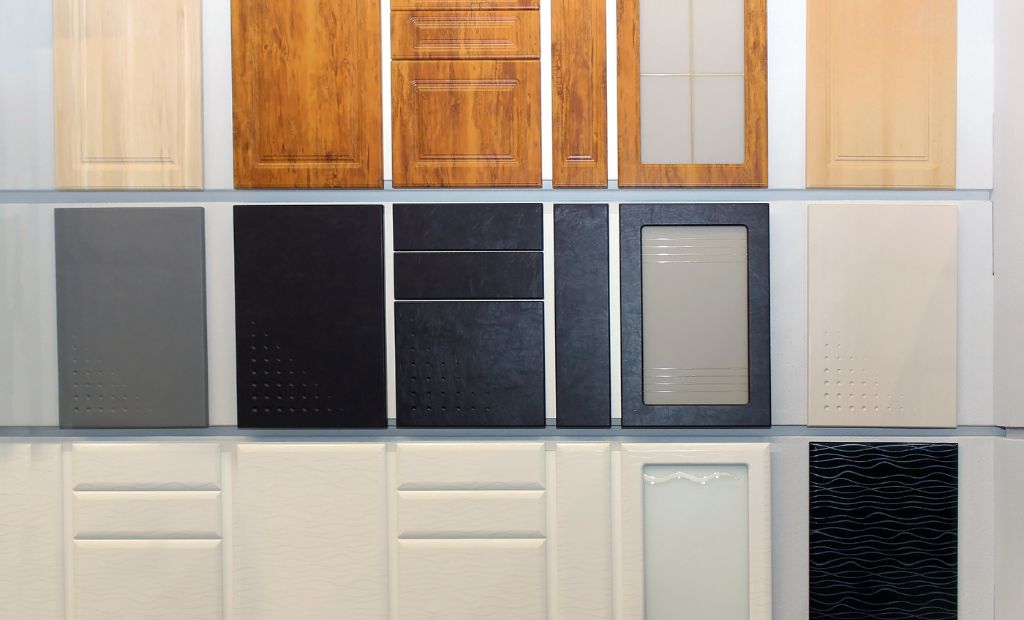
When it comes to choosing paint for kitchen cabinets, there are absolutely no limits. As long as you pick something that goes with the rest of your decor, it’s all good. But what is most important is that you pick the right type of paint.
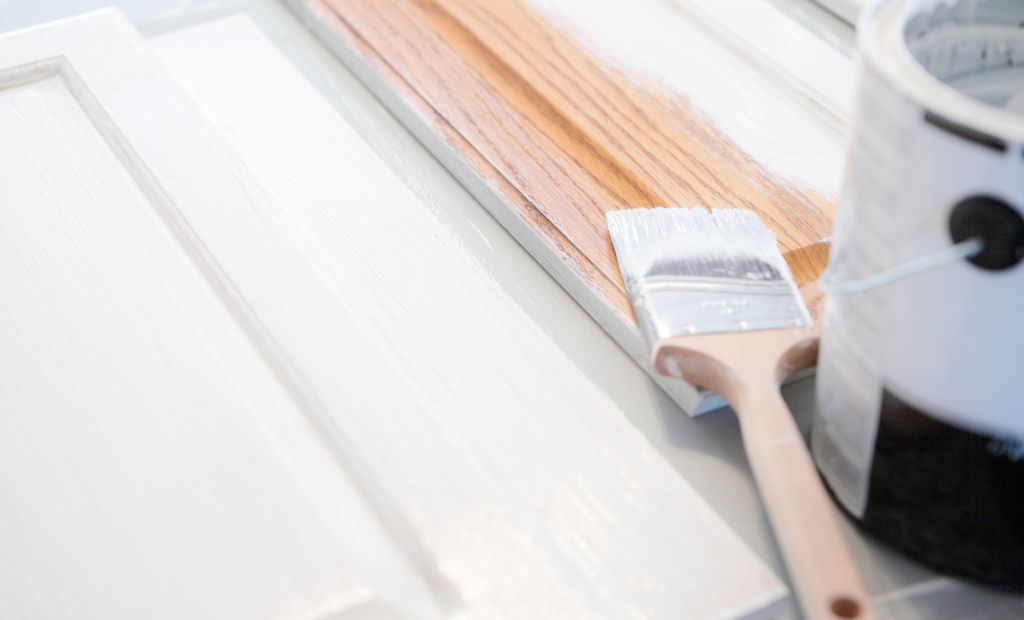
If you want cabinetry that’s easier to maintain, don’t think twice about it, just go for water-based paints. They are much easier to clean than oil-based paints, while also being extremely durable. Water-based paints are offered in satin, semi-gloss, or high gloss finishes according to your preference of finishes.
Step-5: Set Up Space For The Painting Process
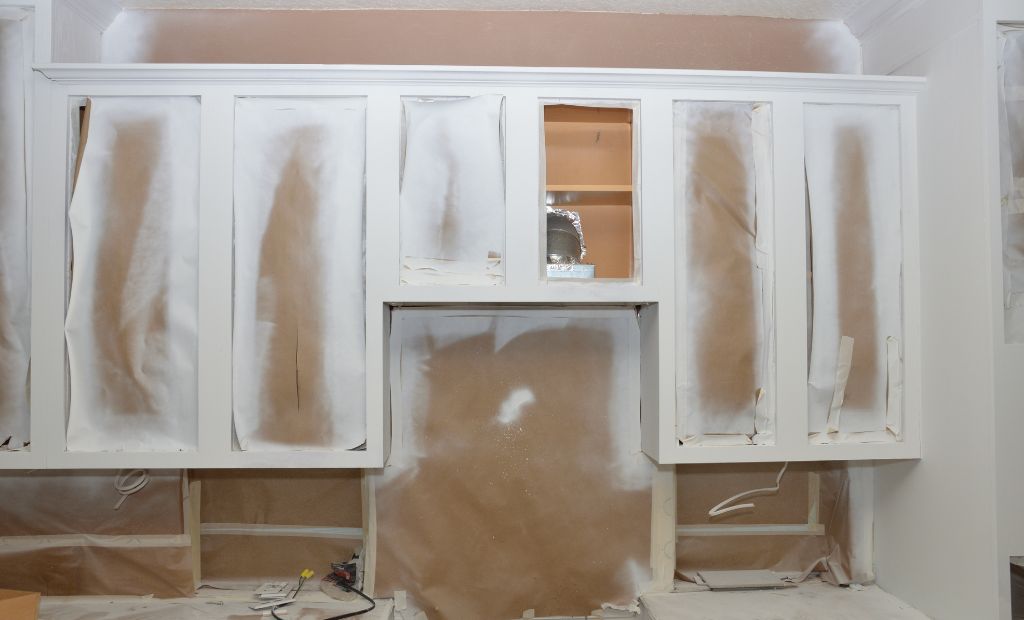
Once the primer is dry, you are ready to start painting. Now, remember: the painting process will either be with a brush or a spray. Both need a dust-free environment, so remember to set up a clear place (a tent, a tarp, or even some old cardboard) on the floor.
In the case of spray paint, you need to make sure the area is covered on all sides to ensure that paint particles do not stick to the wrong surfaces. Not to mention, if you have not used a spray before, practice first!
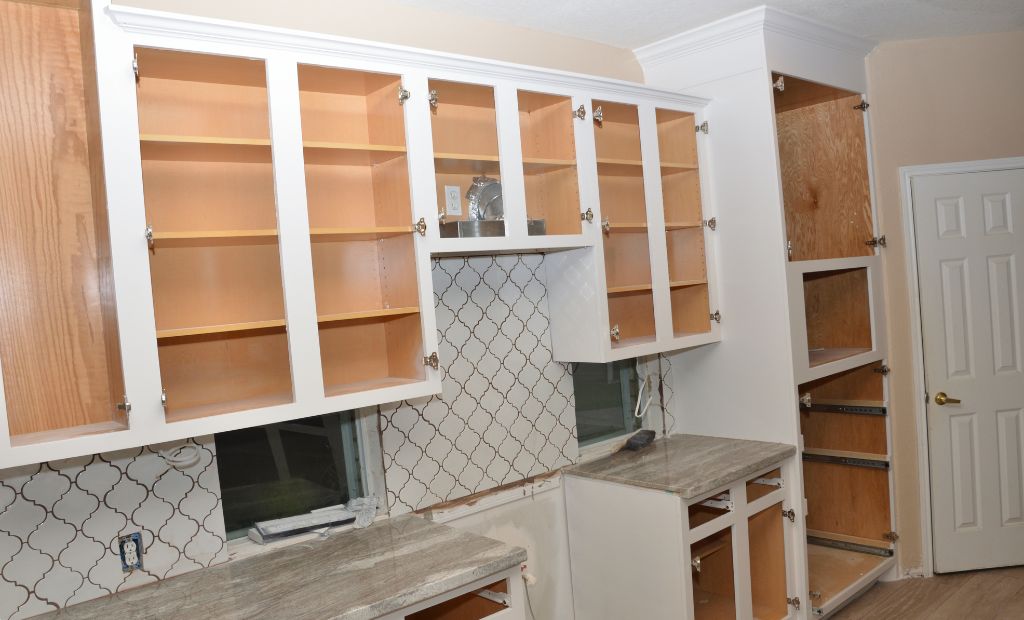
It is a good idea to test the paint on some scrap pieces to check the paint consistency (and change if needed) before you start the final job. In case you are using a brush or a roller, the most important thing is to keep the area as dust-free as possible and ensure that the brush remains clean during the entire process.
Step-6: Sand The Cabinets
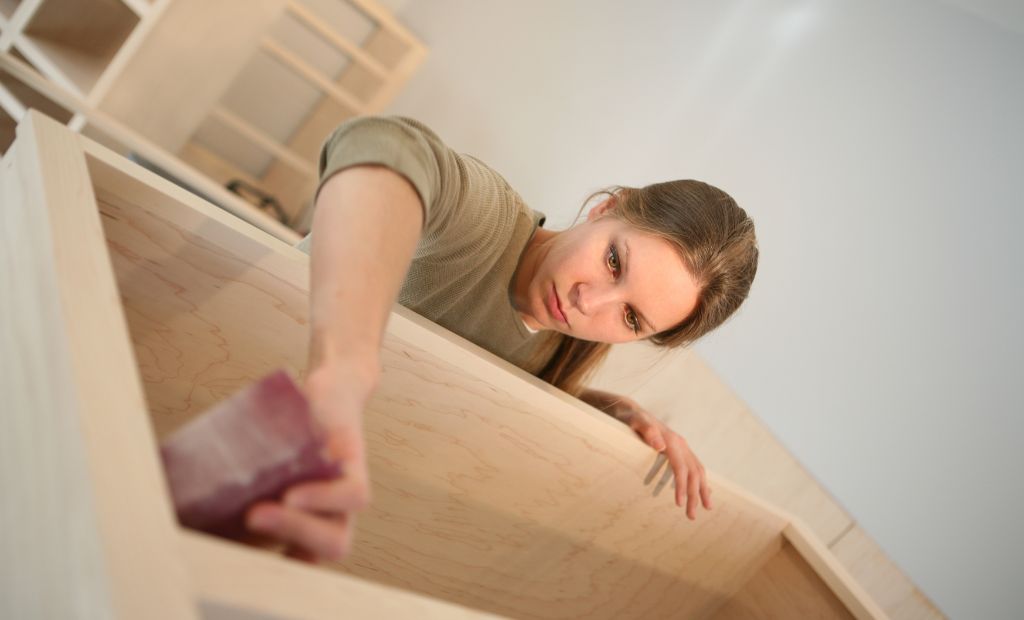
The only scenario wherein you do not need to sand is if your cabinets are made of raw wood. But that is rarely the case these days, which is why most cabinets need sanding before they are ready to be painted. Sanding is important since it creates a slightly rough surface. As a result, when you apply the primer, it will really stick — and we all know how important that is.
Step-7: Prime Cabinets Before Painting
If your cabinet has a matte finish, water-based productions are the best primer for your kitchen cabinets since it is the easiest to work with. On the other hand, something like a shellac-based primer works best when you want a gloss finish. But remember, a shellac-based primer must ONLY be applied with a brush and not a spray. The key is to make fast strokes with the shellac primer, as it dries very quickly. One coat should suffice, but there’s no harm in doing two. Just wait a few hours for the first coat to dry completely before you apply the next one.
Step-8: Apply The Paint
Now, it is time to paint. Avoiding drips and smudges during painting is of critical importance. To this end, you should start painting from the edges and face frame openings. This will give you a chance to see if there are any problems with the color or your painting technique. This part can be relatively slow, but you can make up for it when you move onto painting the cabinet door faces and drawer fronts. Though these parts are larger in size, they are much easier to paint since you are now more experienced in how to paint!
Make sure you apply the paint in a thin coat so that it can cover the whole area equally. At this point, you should be careful about routed or raised cabinet doors if you have any. Painting the corners and crevices can be a bit tricky.
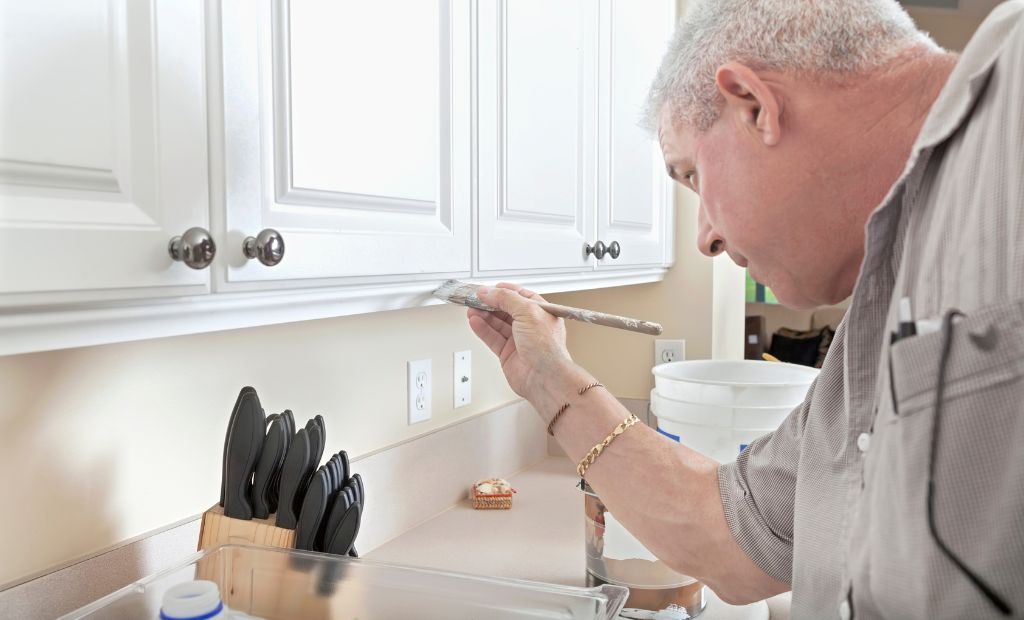
If you are done painting the first layer, let your cabinetry dry for about 5 hours. If the cabinets are all dry, then you can re-sand the surface to prepare it for the second layer of paint. After re-sanding the surfaces, repaint the surfaces following the tips given above. If you have high-quality paint, two coats are usually enough, but you can still add one or two more layers if you want to.
Bonus: Don’ts After The Painting Job
When mentioning the word ‘curing’ the first thing you might think of is meat. But paint needs to be cured, too. You might wonder, “Do you mean the paint must be dry?”. Well, sort of. But cabinet paint cure times are much longer than the drying time. While paint only takes an hour or two to dry, curing needs weeks. And this is where people make the mistake of immediately trying to touch or stick something on the painted cabinets. The process of curing ensures that the paint hardens over time and becomes more durable, and we can’t stress this enough, it is VERY important.
How Long Does The Painting Last?
One or more of the following factors can affect the durability after painting kitchen cabinets.
- The thickness of your paint: The surface it’s painted on
- Type of Paint: Oil, latex, chalk, acrylic, etc.
- The color of the paint: Darker the color, the longer the curing time
- Airflow/humidity/temperature in the area where the painted product is kept.
- Number of coats applied.
Remember, water-based/latex-based paints can take up to 2 hours to dry, but almost 4 weeks to cure! Oil-based paints, on the other hand, take longer to dry (about 6 hours) but less time to cure.
You will know the paint is cured when you press your nails (or something sharp) into it. If it leaves an indent, it is not cured, and you need to leave it alone to set. We recommend waiting a few weeks before you test the doneness as you don’t want to end up having to redo the painting. Lastly, if you have any doubts, your local paint supplier should be able to help you with any queries.
How Long Does Cabinet Paint Take to Dry?
Depending on the paint type, it can take 1-2 weeks to dry completely. However, drying doesn’t mean curing. Curing is the process of hardening paint on the cabinet surface, while drying is vaporizing the solvent chemicals. So, curing might take around one month to be completed.
How Many Coats of Paint on Cabinets?
Generally speaking, 2 or 3 coats are sufficient for painting kitchen cabinets, but repainting kitchen cabinets is still fine if you want to get a more intense color.
How Long Is The Cabinet Paint Dry Time Between Coats
The waiting time between the coats should be between 4-6 hours.
How Much Does It Cost to Paint Kitchen Cabinets?
According to Forbes, painting kitchen cabinets may cost you somewhere between $400 and $1,250. The average cost is around $750.
What Color to Paint Kitchen Cabinets?
Painting kitchen cabinets is an easy and affordable way to spruce up your kitchen. However, the color or colors you use should reflect your taste as well as fit into an overall color scheme. Here are a few suggestions for you:
A Dramatic Change
If the existing kitchen cabinet paint is the only reason you want to paint them, then paint the cabinets in a totally different color to get a truly refreshed appearance.
Neutral Colors
If your kitchen is filled with a lot of colors already, it might be time to try white and other neutral colors such as gray, beige, or cream. Painted kitchen cabinets will balance any cluttered look.
Bold Hues
If you are bored with the existing neutral colors and want to be a bit adventurous, you can try bold colors. For example, yellow and blue have various shades and tones that can make for a nice accent color in the kitchen.
Two-Toned Cabinetry
If you are not sure whether to use neutral colors or go with a more colorful shade, give two-toned cabinets a chance. By incorporating both dark and light colors, you can really get the feeling you are in a brand-new kitchen.
Can You Paint Your Kitchen Cabinetry Without The Help of a Professional?
If you’re looking to improve the look of your kitchen, painting your cabinets can be a great place to start. It’s one of the more manageable home projects, even for beginners. However, if your schedule is tight or you’re not confident in your skills, hiring a professional is always a smart option. They can also offer other kitchen remodeling suggestions that suit your space. Either way, doing a bit of research beforehand can make the entire process smoother and help you communicate your vision more clearly.

